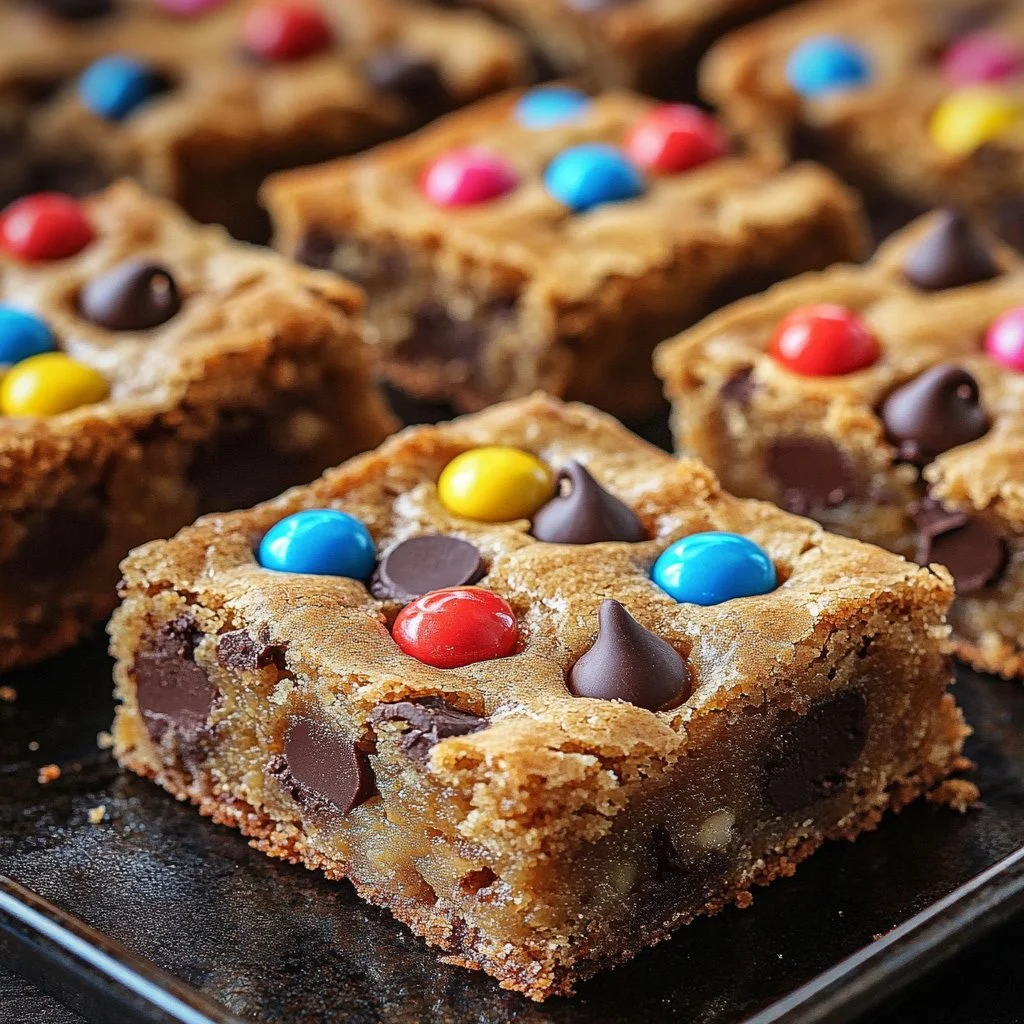
No-Bake Cookie Bars are the perfect solution for anyone craving a sweet, indulgent treat without the hassle of baking. These delightful bars blend the rich, nutty flavors of peanut butter with the natural sweetness of honey and the wholesome texture of oats, creating a mouthwatering combination that will make your taste buds dance. Whether you’re looking for a quick snack, a post-workout boost, or a dessert to please the family, this easy-to-follow recipe is a winner. With just a few ingredients, you can whip up these comforting bars in no time and enjoy a nostalgic taste that’s both satisfying and filled with memories of childhood treats. Let’s dive right in with this step-by-step guide to making No-Bake Cookie Bars!
Ingredients
To make No-Bake Cookie Bars, you will need the following ingredients:
- 1 cup creamy peanut butter: This rich and smooth ingredient serves as the foundation for our bars, providing a delectable nutty flavor and a luscious texture.
- 1/2 cup honey: This natural sweetener adds delightful sweetness while also binding the ingredients together with its sticky consistency.
- 3 cups rolled oats: These chewy oats give our bars a wholesome, comforting texture that is both nutritious and satisfying.
- 1/2 cup chocolate chips: Semi-sweet chocolate chips bring a touch of indulgence that beautifully contrasts with the peanut butter’s nuttiness.
- 1 teaspoon vanilla extract: This aromatic flavor enhances the overall taste, making every bite even more irresistible.
- Pinch of salt: Just a small amount of salt elevates the sweetness and balances the flavors beautifully.
Cooking Time & Tips for No-Bake Cookie Bars
When it comes to preparing No-Bake Cookie Bars, the beauty lies in their simplicity. You can create these bars in just about 15 minutes of active prep time! However, you’ll want to account for the refrigeration time, allowing the bars to chill and set, which usually takes about 1-2 hours.
For those who prefer a quick treat to whip up, try preparing these bars in a larger batch so you have extra on hand for snacks or desserts throughout the week. To ensure success, make sure to use fresh, high-quality ingredients. Additionally, lining your baking dish with parchment paper will make it easy to remove the bars once they’re set.
Step-by-Step Directions
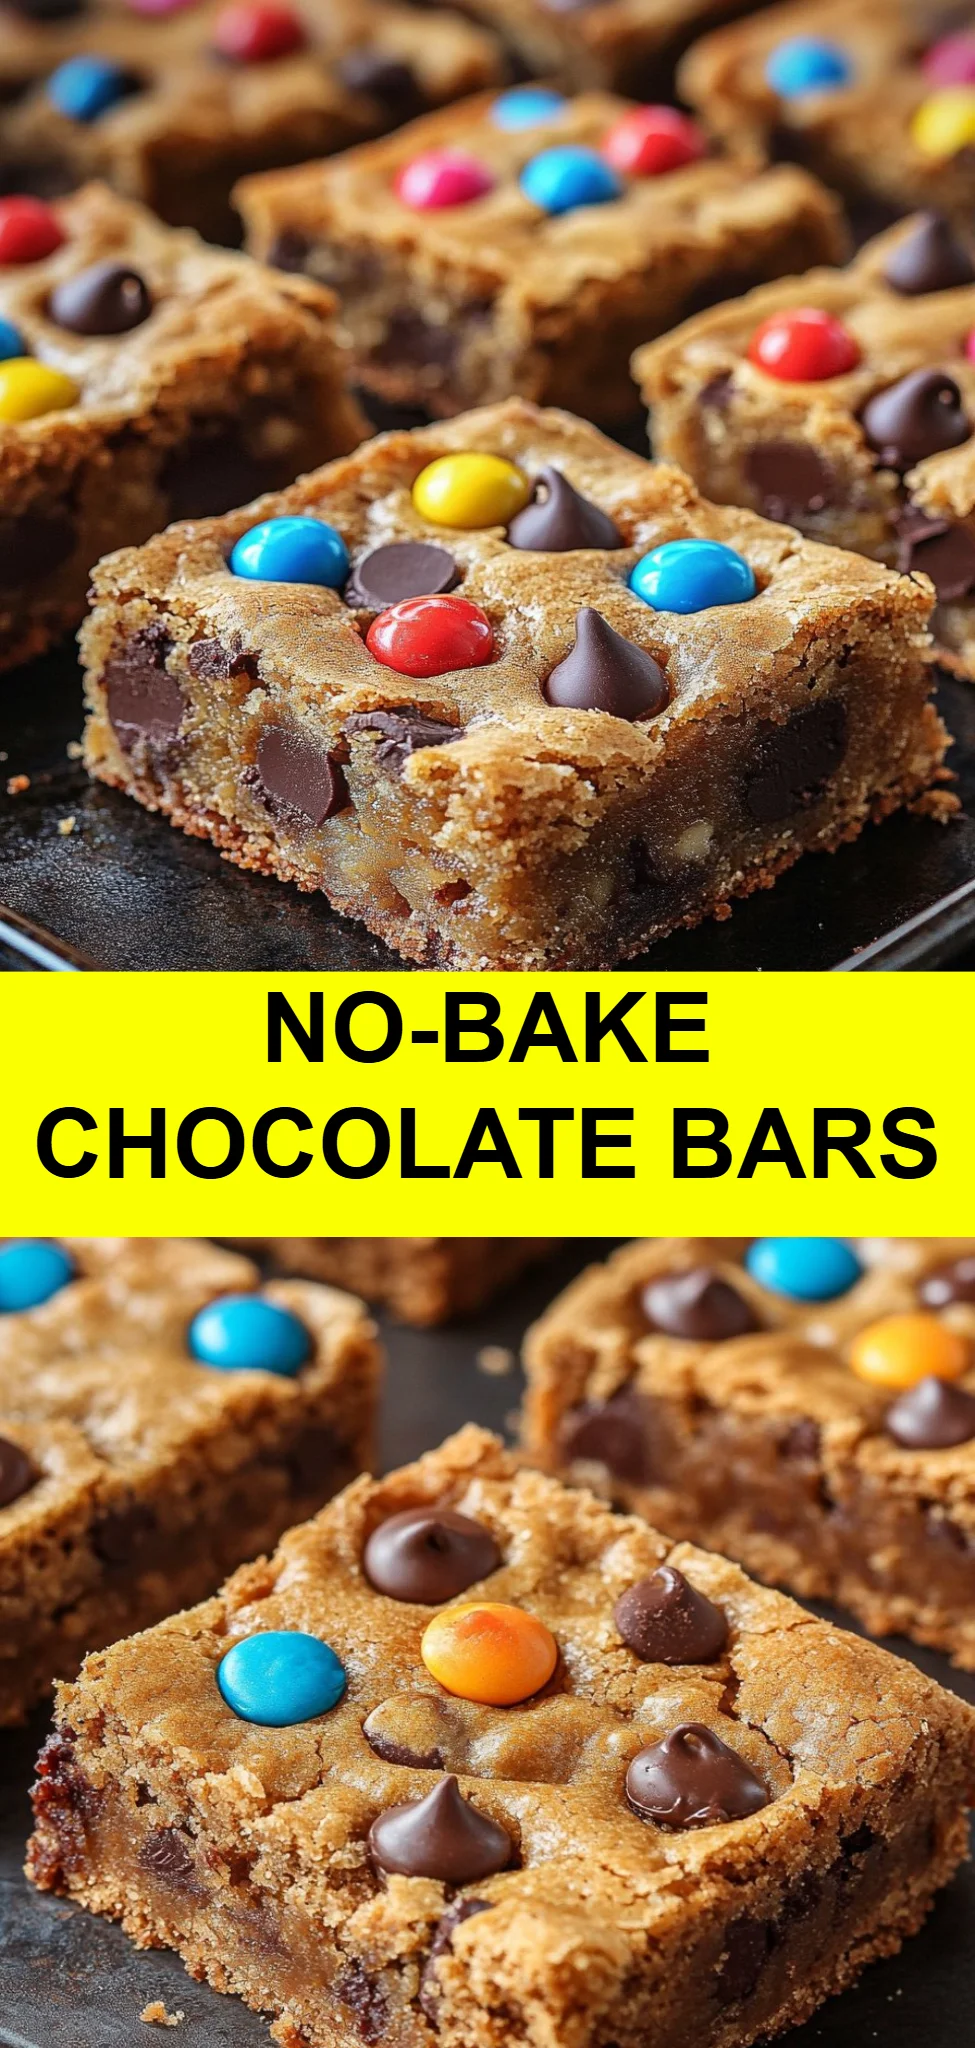
In a large bowl, mix together the creamy peanut butter, sticky honey, aromatic vanilla extract, and a pinch of salt until well combined. The mixture should be smooth and cohesive, with the nutty aroma of peanut butter filling your kitchen.
Next, stir in the rolled oats, allowing them to soak up the flavors, followed by the half cup of chocolate chips. Use a spatula or spoon to ensure everything is evenly distributed, creating a deliciously satisfying mixture that you won’t be able to resist!
Now, it’s time to transfer the mixture into a lined 8×8 inch baking dish. Press down firmly to compact the mixture and promote even setting. You want the bars to hold together beautifully when cut!
Cover the dish with plastic wrap and refrigerate for at least 1-2 hours until set. This chilling period might seem long, but it’s well worth the wait as it allows the flavors to meld and the texture to firm up perfectly.
Once set, remove the bars and cut them into squares or rectangles. Serve them immediately, or keep them stored in an airtight container in the refrigerator for up to a week – if they last that long!
Serving Suggestions & Occasions
No-Bake Cookie Bars are incredibly versatile and can be enjoyed on various occasions. Serve them as a quick breakfast on busy mornings, pack them in lunchboxes for a wholesome snack, or offer them as a healthy dessert during family gatherings. They’re perfect for picnics, road trips, or any casual get-together where friends and family come together to enjoy good food.
You can even elevate your serving by drizzling some additional melted chocolate on top or sprinkling extra oats and nuts for added texture. Your creativity will make these bars an even more appealing option for every palate!
Common Mistakes for No-Bake Cookie Bars
Even simple recipes can have common pitfalls. One of the most frequent mistakes is not allowing the bars to set long enough in the refrigerator. If you cut them too soon, they may crumble and fall apart.
Another is not pressing the mixture firmly enough into the dish, which can lead to bars that don’t hold together well. Lastly, using peanut butter that’s too oily or runny can affect the consistency, so always opt for a quality peanut butter that’s well-stirred.
Healthier Alternatives & Variations
While this recipe is already a wholesome treat, there are plenty of ways to switch things up in terms of health and flavor.
For a lower sugar option, consider using a sugar-free syrup in place of honey or a banana as a natural sweetener. You can also substitute almond or sunflower seed butter for peanut butter to cater to those with nut allergies.
Add-ins like shredded coconut, chia seeds, or dried fruits can enhance the nutritional profile while providing variety in texture and taste. For a touch of crunch, consider incorporating nuts like almonds or walnuts into your mixture.
FAQs
How long do No-Bake Cookie Bars last?
They can last up to a week when stored in an airtight container in the refrigerator.Can I freeze No-Bake Cookie Bars?
Yes! They freeze well and can be stored in the freezer for up to three months. Just thaw them in the fridge before serving.What can I use instead of peanut butter?
Almond butter, sunflower seed butter, or cashew butter can all be used as alternatives.Is there a vegan option for this recipe?
Absolutely! Use maple syrup instead of honey to make it vegan-friendly.Can I add protein powder to the mixture?
Yes! Mixing in a scoop of your favorite protein powder can boost the protein content of these bars.Are these bars gluten-free?
If you use certified gluten-free rolled oats, this recipe can be made gluten-free.
Conclusion
There’s no better time than now to try your hand at these scrumptious No-Bake Cookie Bars. Whether you’re in need of a sweet treat to satisfy your cravings or looking for a fun activity to embark on, this recipe invites you to create something delicious with ease. Don’t wait – gather your ingredients, roll up your sleeves, and treat yourself to the delightful experience of making and enjoying these irresistible bars!
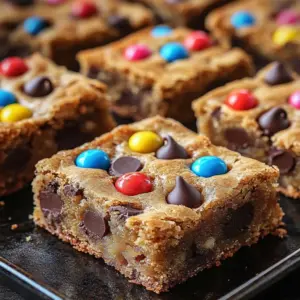
No-Bake Cookie Bars
Ingredients
Base Ingredients
- 1 cup creamy peanut butter Use high-quality, well-stirred peanut butter.
- 1/2 cup honey Natural sweetener that binds the ingredients.
- 3 cups rolled oats Use old-fashioned oats for the best texture.
- 1/2 cup chocolate chips Semi-sweet chocolate chips add indulgence.
- 1 teaspoon vanilla extract Enhances the overall flavor.
- 1 pinch salt Balances the sweetness.
Instructions
Preparation
- In a large bowl, mix together the creamy peanut butter, sticky honey, aromatic vanilla extract, and a pinch of salt until well combined.
- Stir in the rolled oats, allowing them to soak up the flavors, followed by the chocolate chips. Ensure everything is evenly distributed.
- Transfer the mixture into a lined 8x8 inch baking dish and press down firmly to compact the mixture.
- Cover the dish with plastic wrap and refrigerate for at least 1 to 2 hours until set.
- Once set, remove the bars from the dish and cut them into squares or rectangles.