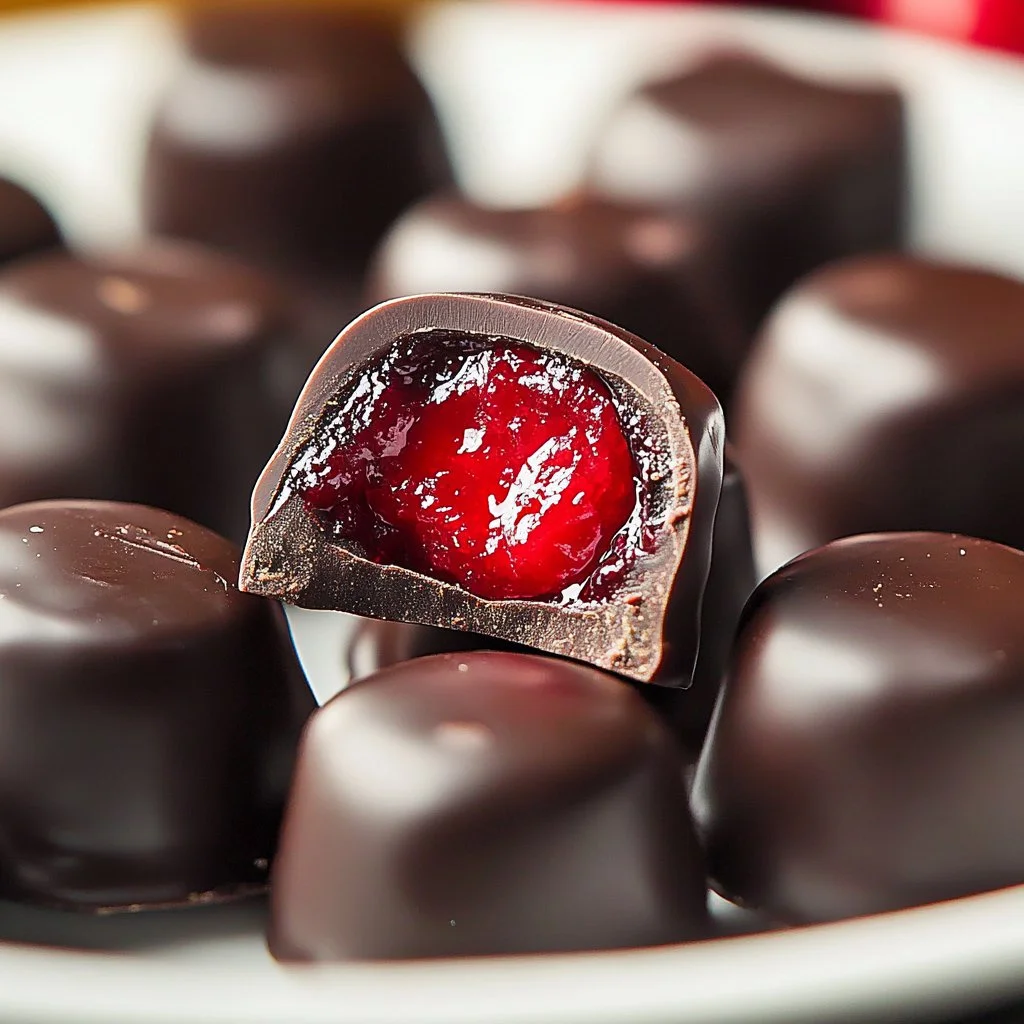
Chocolate-Covered Cherry Brownies are the ultimate indulgence, combining rich, fudgy brownies with a delightful twist of tart cherry preserves and a luxurious layer of dark chocolate. Imagine biting into a tender, chocolatey square that oozes with a burst of cherry flavor, making every mouthful a sweet celebration. This recipe is incredibly easy to follow and perfect for a cozy dessert night, a potluck gathering, or just a sweet treat to impress your loved ones. With this step-by-step guide, you’ll be able to whip up these mouthwatering brownies that are sure to evoke nostalgia and joy.
Ingredients
To create the perfect Chocolate-Covered Cherry Brownies, gather these rich and flavorful ingredients:
- 1.5 cups all-purpose flour: This provides the structure needed for a chewy, tender brownie.
- 1 cup unsweetened cocoa powder: Adds intense chocolate flavor and richness without extra sweetness.
- 0.5 teaspoon baking powder: Helps the brownies rise just a bit, giving them a light, airy texture.
- 1 cup granulated sugar: Balances the bitterness of cocoa, making the brownies delectably sweet.
- 0.75 cup butter (melted): Provides a creamy moisture and enhances the chocolatey goodness.
- 3 large eggs: Ensures a rich, dense texture and binds all the ingredients together.
- 1 teaspoon vanilla extract: Adds a lovely depth of flavor to the chocolate.
- 0.5 cup cherry preserves: Introduces a delightful tartness that complements the chocolate beautifully.
- 1 cup dark chocolate chips: The ultimate topping, adding both visual allure and a rich chocolate taste.
Cooking Time & Tips for Chocolate-Covered Cherry Brownies
When it comes to preparing these decadent brownies, you’ll find that the cooking time is quite efficient. They typically take about 35-40 minutes. However, you’ll want to consider your preferences when it comes to texture. For a fudgy brownie, you’ll aim for a slightly shorter baking time, while a more cake-like brownie will require the full time.
Here are some practical tips for success:
- Ensure all your ingredients are at room temperature; this helps the batter come together smoothly.
- Don’t overmix the batter after adding the flour to keep your brownies tender.
- For extra indulgence, sprinkle some sea salt on top of the cooled brownies before cutting them into squares.
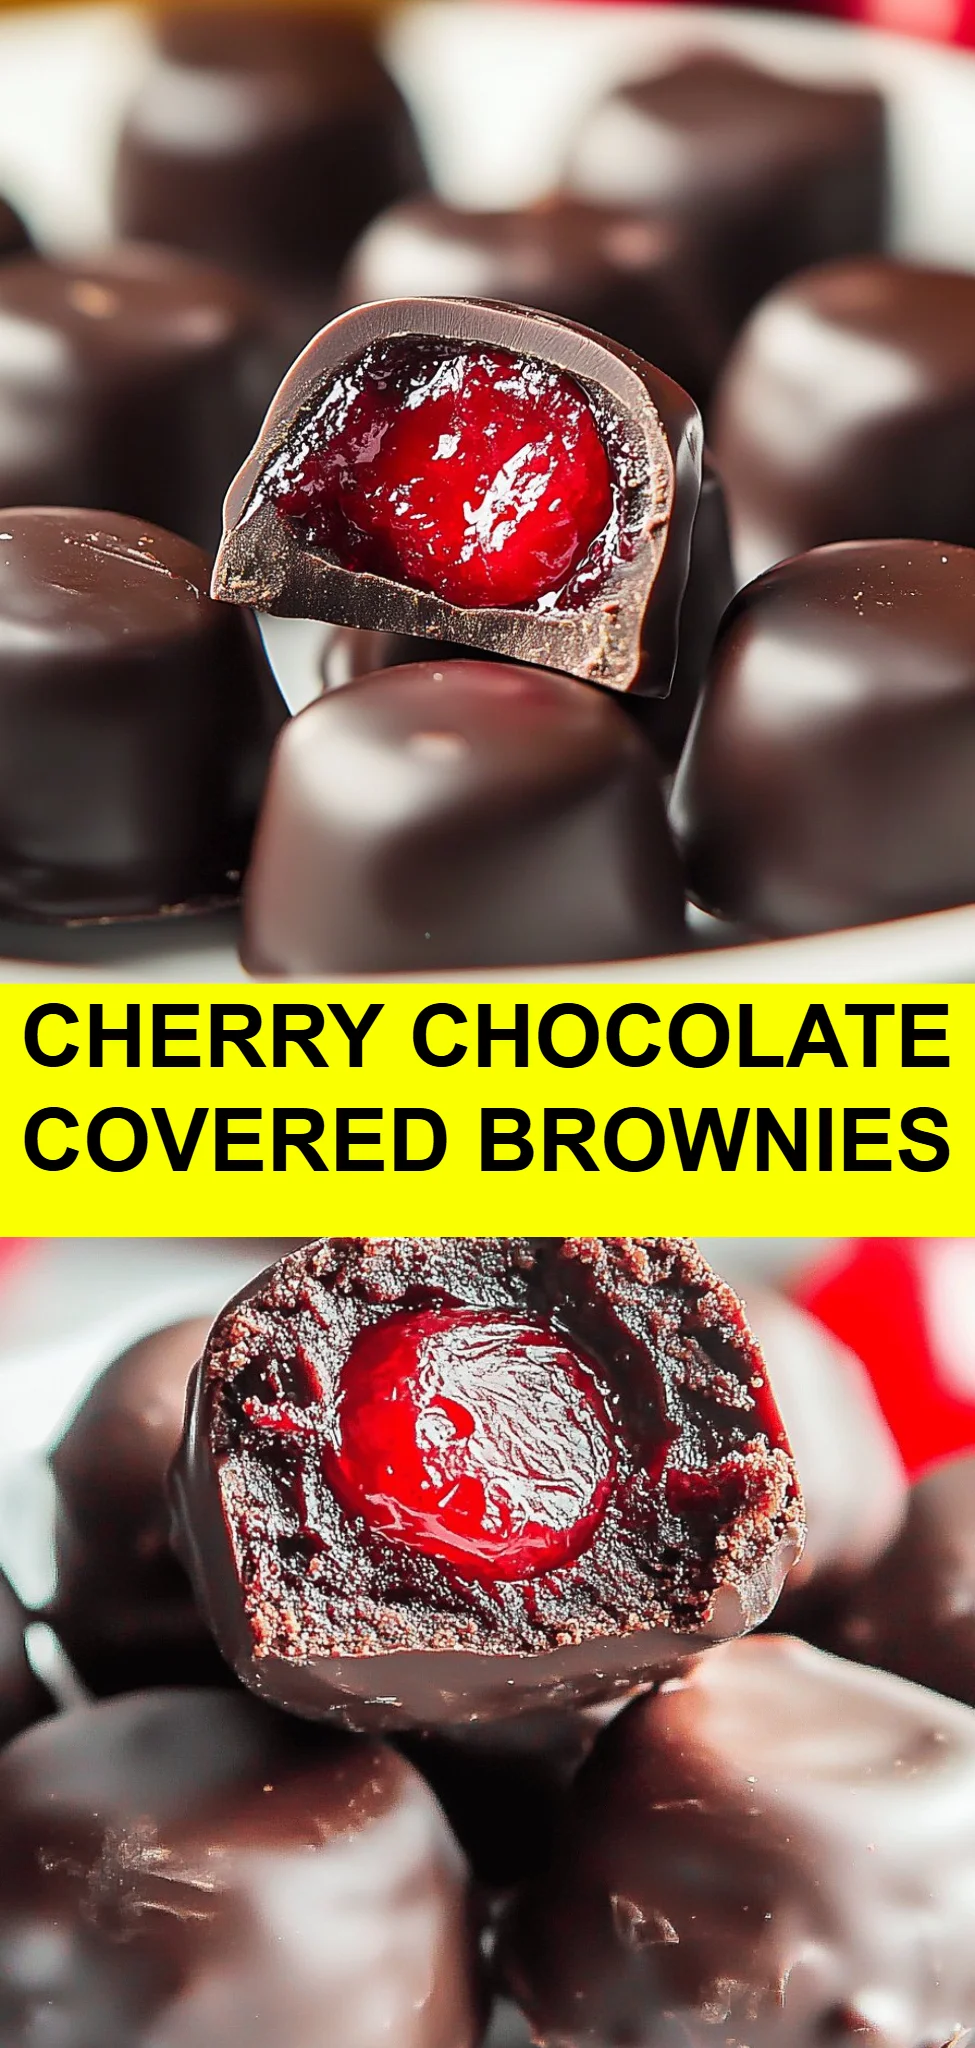
Step-by-Step Directions Preparation Steps
Preheat your oven to 350°F (175°C). While the oven warms, line a 9×13 inch baking dish with parchment paper for easy removal, and lightly grease the sides.
Mix dry ingredients: In a large bowl, sift together the all-purpose flour, unsweetened cocoa powder, and baking powder. This step helps to aerate the flour and cocoa, resulting in a lighter brownie.
Combine wet ingredients: In another bowl, melt the butter in the microwave or on the stovetop. Once it cools slightly, whisk in the granulated sugar until combined. Add the eggs, one at a time, followed by the vanilla extract, continuing to whisk until the mixture is shiny and smooth.
Combine mixtures: Gradually fold the dry ingredients into the wet mixture, being careful not to overmix. You want to see a few floury streaks remaining. This is key to achieving that fudgy texture.
Incorporate cherry preserves: Gently swirl the cherry preserves into the brownie batter, ensuring it is evenly distributed but still visible in sections.
Pour and spread: Transfer the batter into the prepared baking dish, spreading it out evenly. Sprinkle the dark chocolate chips generously over the top, embedding some within the batter for extra chocolate flavor.
Bake: Place the baking dish in the preheated oven and bake for 30-35 minutes, or until a toothpick inserted in the center comes out with a few moist crumbs.
Cool and slice: Once baked, remove from the oven and allow to cool in the pan for at least 10 minutes. Lift the brownies out using the parchment paper, then slice them into squares.
Serving Suggestions & Occasions
These Chocolate-Covered Cherry Brownies are versatile and suitable for many occasions. Serve them warm, perhaps with a scoop of vanilla ice cream for an indulgent dessert after dinner. They make excellent treats for family gatherings, romantic date nights, or holiday celebrations. Consider plating them with fresh cherries or a drizzle of chocolate sauce to elevate their visual appeal.
Common Mistakes for Chocolate-Covered Cherry Brownies
To ensure your brownies turn out perfectly, avoid these common pitfalls:
- Overbaking: Keep a close eye on the baking time. Overbaking will lead to dry brownies instead of the desired fudgy consistency.
- Ignoring ingredient temperatures: Using cold eggs or butter can prevent the batter from blending well, affecting the final structure.
- Skipping the parchment paper: Not lining the dish can make it challenging to lift the brownies out cleanly, leading to messy portions.
Healthier Alternatives & Variations
For those looking to make these brownies a tad healthier, consider these substitutions:
- Reduce sugar: You can cut the sugar by half or use natural sweeteners like honey or maple syrup.
- Flour swap: Substitute whole wheat flour or almond flour for a different flavor and nutritional profile.
- Fruit addition: Mix in fresh or dried cherries for extra texture and flavor.
- Vegan option: Substitute eggs with flax eggs and use plant-based butter to make these brownies vegan-friendly.
FAQs
Can I use fresh cherries instead of preserves?
Yes, you can, but fresh cherries will require modifications in the recipe, as they may add extra moisture.How should I store the brownies?
Store them in an airtight container at room temperature for up to five days, or refrigerate for longer freshness.Can I freeze these brownies?
Absolutely! Wrap them in plastic wrap and then place them in an airtight container. They can be frozen for up to three months. Just thaw them overnight in the fridge before serving.What can I do if my brownies come out too cakey?
If your brownies come out too cakey, try reducing the baking time next time or adding an extra egg for more moisture.Can I add nuts?
Certainly! Chopped walnuts or pecans would provide a lovely crunch alongside the chewy texture of the brownies.Is there a different chocolate I can use?
Yes, feel free to substitute semi-sweet or milk chocolate if you prefer a sweeter flavor instead of rich dark chocolate.
Conclusion
Chocolate-Covered Cherry Brownies are a decadent treat that brings together the comforting elements of homemade brownies with the natural sweetness of cherries. With their rich flavors and easy preparation, you don’t have to wait for a special occasion to try this recipe. So go ahead and gather your ingredients; it’s time to create an irresistible dessert that will please anyone with a sweet tooth! You’ll be glad you did!
Chocolate-Covered Cherry Brownies
Ingredients
Dry Ingredients
- 1.5 cups all-purpose flour Provides structure for chewy, tender brownies.
- 1 cup unsweetened cocoa powder Adds intense chocolate flavor.
- 0.5 teaspoon baking powder Helps the brownies rise.
- 1 cup granulated sugar Balances the bitterness of cocoa.
Wet Ingredients
- 0.75 cups butter (melted) Provides creamy moisture and enhances chocolate.
- 3 large eggs Ensures a rich, dense texture.
- 1 teaspoon vanilla extract Adds depth of flavor.
Flavor Enhancements
- 0.5 cup cherry preserves Introduces tartness that complements chocolate.
- 1 cup dark chocolate chips Ultimate topping adding visual allure and richness.
Instructions
Preparation
- Preheat your oven to 350°F (175°C). Line a 9x13 inch baking dish with parchment paper and lightly grease the sides.
- In a large bowl, sift together the all-purpose flour, cocoa powder, and baking powder.
- In another bowl, melt the butter. Once slightly cooled, whisk in the granulated sugar until combined. Add eggs one at a time, followed by the vanilla extract, whisking until shiny and smooth.
- Gradually fold the dry ingredients into the wet mixture, ensuring not to overmix.
- Gently swirl the cherry preserves into the batter until evenly distributed.
- Pour the batter into the prepared dish, spreading evenly. Sprinkle dark chocolate chips on top.
Baking
- Bake for 30-35 minutes, or until a toothpick comes out with a few moist crumbs.
- Allow to cool for at least 10 minutes before lifting them out and slicing into squares.