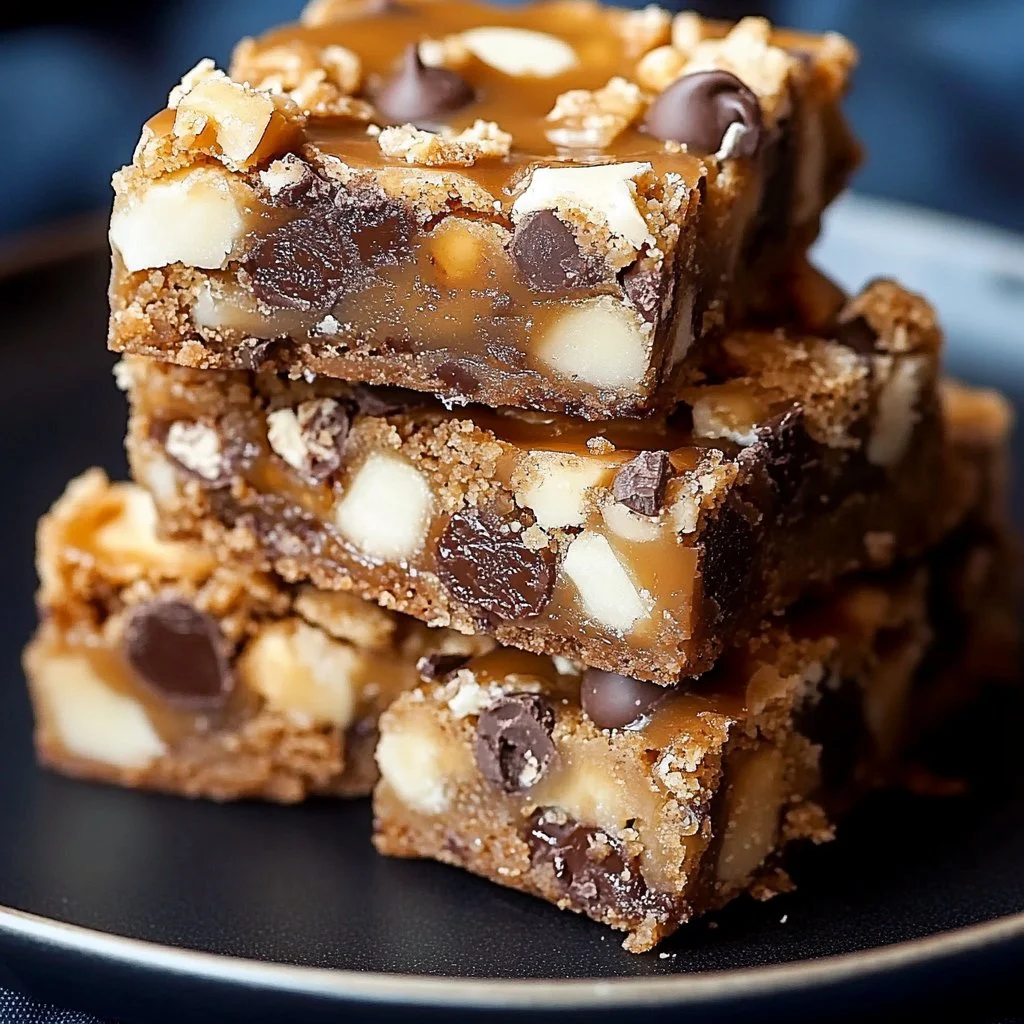
Gluten-Free 7-Layer Bars are a delightful treat that brings together a symphony of flavors and textures in each bite. These bars are not only visually appealing with their colorful layers but also offer a comforting sweetness that evokes nostalgic memories of home-baked goodies. Perfect for family gatherings or simply when you crave something indulgent, these bars are easy to whip up and sure to please everyone, especially those seeking a gluten-free dessert option. This recipe includes a step-by-step guide to help you create this layered masterpiece effortlessly.
Ingredients
To make these luscious Gluten-Free 7-Layer Bars, you’ll need the following ingredients that ensure a rich and satisfying treat:
- 1.5 cups gluten-free graham cracker crumbs: These serve as the equally crunchy and tender base, adding that undeniable graham flavor.
- 0.5 cup melted butter: Pure, creamy butter that brings richness and binds the layers beautifully.
- 1 cup chocolate chips (semi-sweet): Melty, smooth chocolate chips to provide an indulgent bite.
- 1 cup butterscotch chips: Sweet, buttery butterscotch chips that add a delightful caramel-like essence.
- 1 cup shredded coconut (sweetened): Aromatic and chewy coconut that gives texture and a tropical flair.
- 1 cup chopped pecans: Crunchy and buttery pecans for a satisfying crunch and a dose of nuttiness.
- 1 can sweetened condensed milk (14 oz): This essential component ties everything together with its creamy, sweet goodness.
Cooking Time & Tips for Gluten-Free 7-Layer Bars
Cooking these Gluten-Free 7-Layer Bars is relatively quick, with just about 30 minutes of active preparation time, plus additional time for baking. If you prefer a firmer texture, you might want to let them cool completely before cutting. The key difference between quick and slow preparation lies in how you handle each layer. Quick preparation means layering the ingredients and baking promptly, while slow preparation allows the flavors to seep in, making it just a little richer.
To ensure success, here are some practical tips:
- Measure your ingredients precisely: A kitchen scale could make this easier, especially for gluten-free baking, which can be finicky.
- Use room temperature butter: It makes for easier mixing and creates a smoother batter.
- Line your baking dish: This will make it much easier to cut and remove the bars without them falling apart.
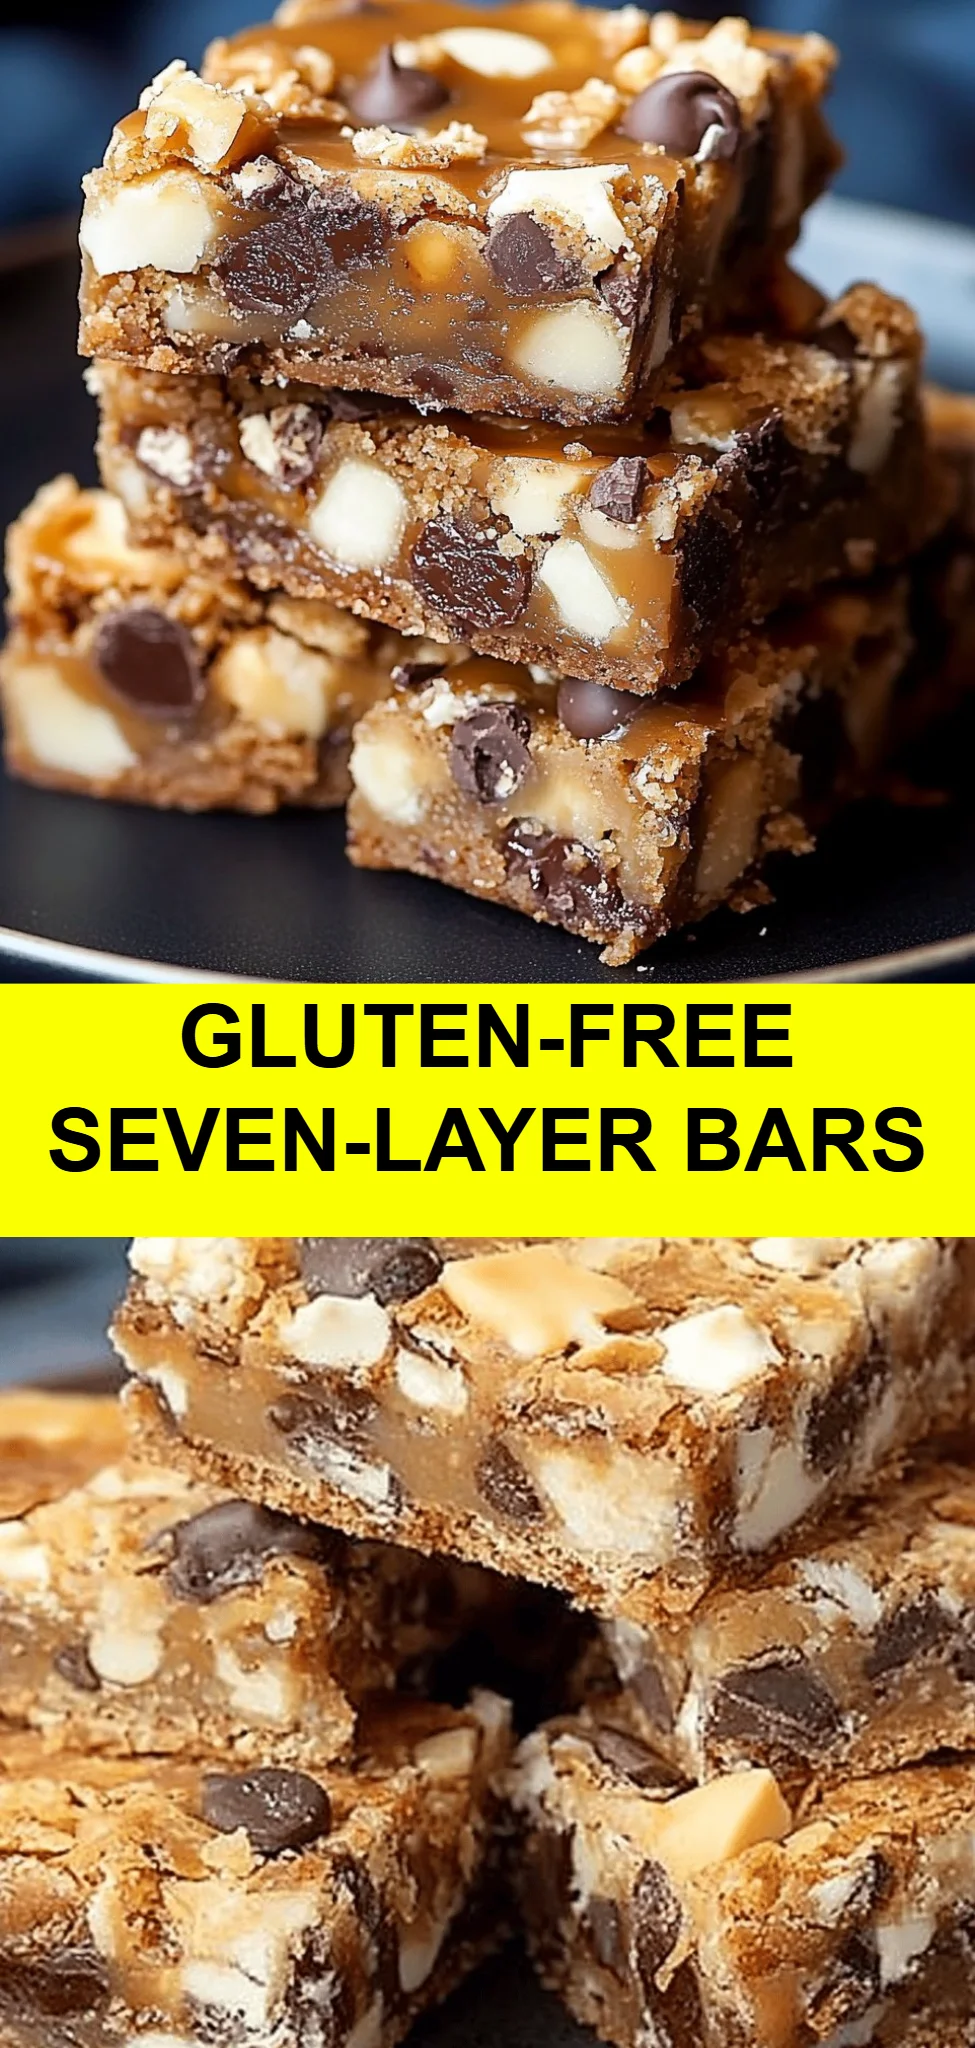
Step-by-Step Directions Preparation Steps
Preheat Your Oven: Start by preheating your oven to 350°F (175°C). This ensures an even bake right from the start.
Prepare the Baking Dish: Line an 8×8 inch baking dish with parchment paper, allowing some overhang, which will make removal easier. Grease the paper lightly for extra assurance.
Mix the Graham Cracker Crust: In a mixing bowl, combine the gluten-free graham cracker crumbs with melted butter. Stir until the mixture resembles wet sand, and then pack it evenly into the bottom of the prepared baking dish.
Layering Begins: Sprinkle the chocolate chips evenly over the graham cracker crust, followed by the butterscotch chips. Both layers create a lovely melty base.
Add Coconut and Pecans: Next, sprinkle the sweetened shredded coconut on top of the chips. Follow this by distributing the chopped pecans, adding crunch and nuttiness.
Drizzle the Sweetened Condensed Milk: Carefully pour the sweetened condensed milk over the layered ingredients, ensuring everything is evenly coated. This will bind the layers as they bake.
Bake to Perfection: Place the dish in the preheated oven and bake for 25-30 minutes or until the edges are bubbly and lightly golden.
Cooling: Once done, remove the bars from the oven and let them cool completely in the pan. If you can wait, chilling them in the fridge for a couple of hours makes cutting easier and gives the layers time to set.
Cut and Serve: Remove the bars from the dish using the parchment overhang. Cut into squares and serve for an irresistible treat!
Serving Suggestions & Occasions
These Gluten-Free 7-Layer Bars are incredibly versatile and can be served at various occasions. They’re perfect for:
- Family Gatherings: A sweet addition to your dessert table that will impress family and friends.
- Picnics: Individually wrapped, they make for an easy, portable dessert.
- Birthday Parties: Customize the toppings according to your theme!
- Bake Sales: They are sure to be a hit and are easy to sell by the slice.
Pair these bars with a scoop of vanilla ice cream or a dollop of whipped cream to elevate the experience.
Common Mistakes for Gluten-Free 7-Layer Bars
When making these bars, some common mistakes to avoid include:
- Not measuring the graham cracker crumbs properly: Too much or too little can affect the crust’s integrity.
- Skipping the chilling step: Allowing them to cool completely helps them set properly for easy cutting.
- Not greasing or lining the pan: This can lead to bars sticking and crumbling during removal.
- Overbaking: Keep an eye on the oven; they should be set but not burnt.
Healthier Alternatives & Variations
If you’re looking to customize or make healthier versions of these bars, consider the following alternatives:
- Use almond or coconut flour: Instead of gluten-free graham crackers for a lower-carb option.
- Swap chocolate chips for dark chocolate: Dark chocolate can offer health benefits and provide a more sophisticated flavor.
- Incorporate dried fruits: Add raisins or cranberries for a fruity twist and additional nutrients.
- Try different nuts: Walnuts, almonds, or even pumpkin seeds provide different flavors and textures.
FAQs
Can I freeze these bars?
Yes! They freeze well. Just wrap them tightly and store in an airtight container. Thaw before serving.How long will they last?
In an airtight container, they can last up to a week at room temperature or several weeks in the freezer.Can I use other kinds of chips?
Absolutely! Feel free to mix and match with peanut butter chips, white chocolate chips, or any of your favorite flavors.Are these bars gluten-free?
Yes! As long as you use certified gluten-free graham crackers and ingredients, they are safe for those with gluten intolerance.How do I make them nut-free?
Simply omit the nuts or replace them with sunflower seeds or pumpkin seeds for some crunch.What can I serve with these bars?
Consider serving them with coffee, tea, or a glass of milk to round out the dessert experience.
Conclusion
Gluten-Free 7-Layer Bars are a cheerful, easy-to-make dessert that everyone will love. The combination of flavors and textures is simply irresistible, prompting you to reach for just one more bite. With this step-by-step recipe, you’ll feel like a pro baker, impressing family and friends with minimal effort. Don’t wait—gather your ingredients and start creating these delectable bars today!
Gluten-Free 7-Layer Bars
Ingredients
Crust
- 1.5 cups gluten-free graham cracker crumbs These serve as the crunchy and tender base.
- 0.5 cup melted butter Pure, creamy butter that brings richness.
Filling
- 1 cup chocolate chips (semi-sweet) Melty, smooth chocolate chips for indulgence.
- 1 cup butterscotch chips Adds a delightful caramel-like essence.
- 1 cup shredded coconut (sweetened) Aromatic and chewy for texture.
- 1 cup chopped pecans Provides crunch and nuttiness.
- 1 can sweetened condensed milk (14 oz) Ties everything together with creamy sweetness.
Instructions
Preparation
- Preheat your oven to 350°F (175°C).
- Line an 8×8 inch baking dish with parchment paper, allowing some overhang. Lightly grease the paper.
- In a mixing bowl, combine the gluten-free graham cracker crumbs with melted butter and stir until the mixture resembles wet sand.
- Pack the graham cracker mixture evenly into the bottom of the prepared baking dish.
- Sprinkle the chocolate chips evenly over the graham cracker crust, followed by the butterscotch chips.
- Next, sprinkle the sweetened shredded coconut on top of the chips, followed by the chopped pecans.
- Carefully pour the sweetened condensed milk over the layered ingredients, ensuring everything is evenly coated.
Baking
- Place the dish in the preheated oven and bake for 25-30 minutes or until the edges are bubbly and lightly golden.
- Remove from the oven and let the bars cool completely in the pan.
- For best results, chill in the fridge for a couple of hours before cutting.
- Remove the bars from the dish using the parchment overhang, cut into squares, and serve.