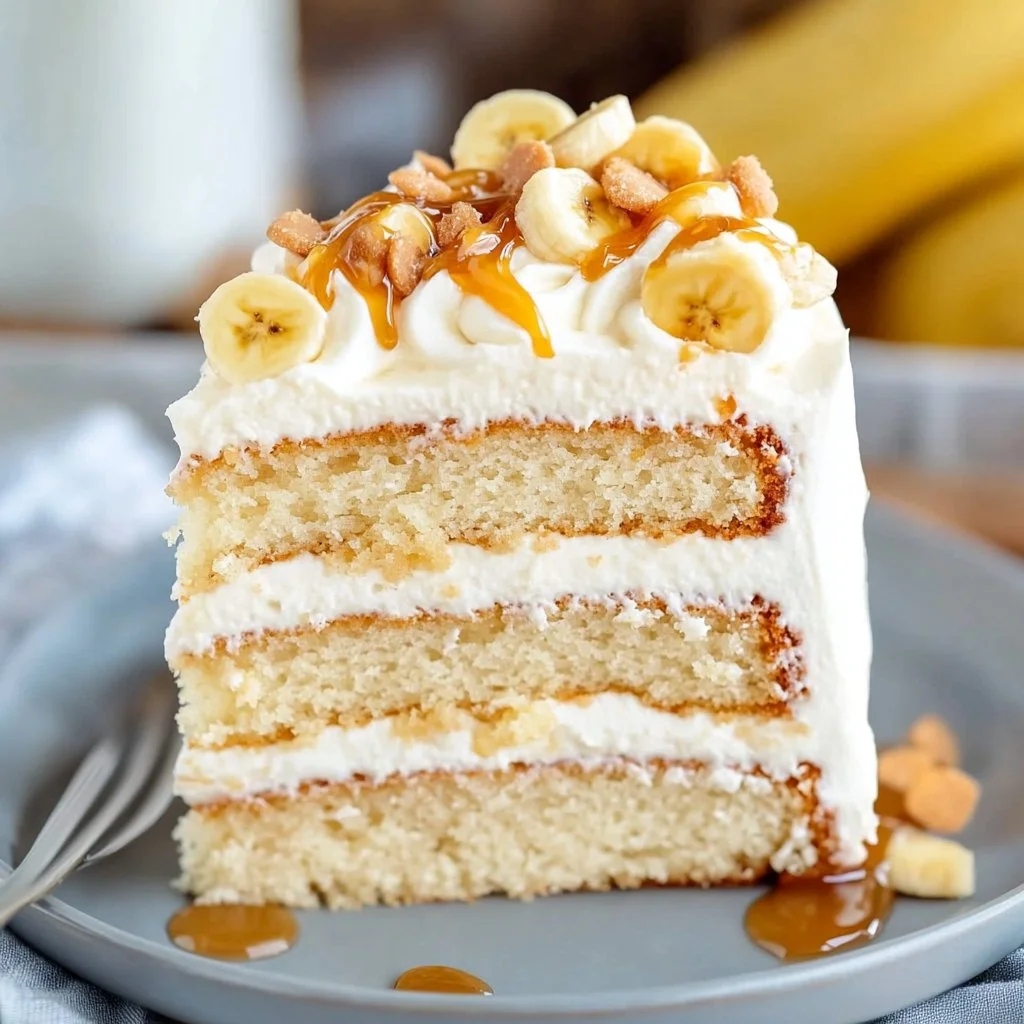
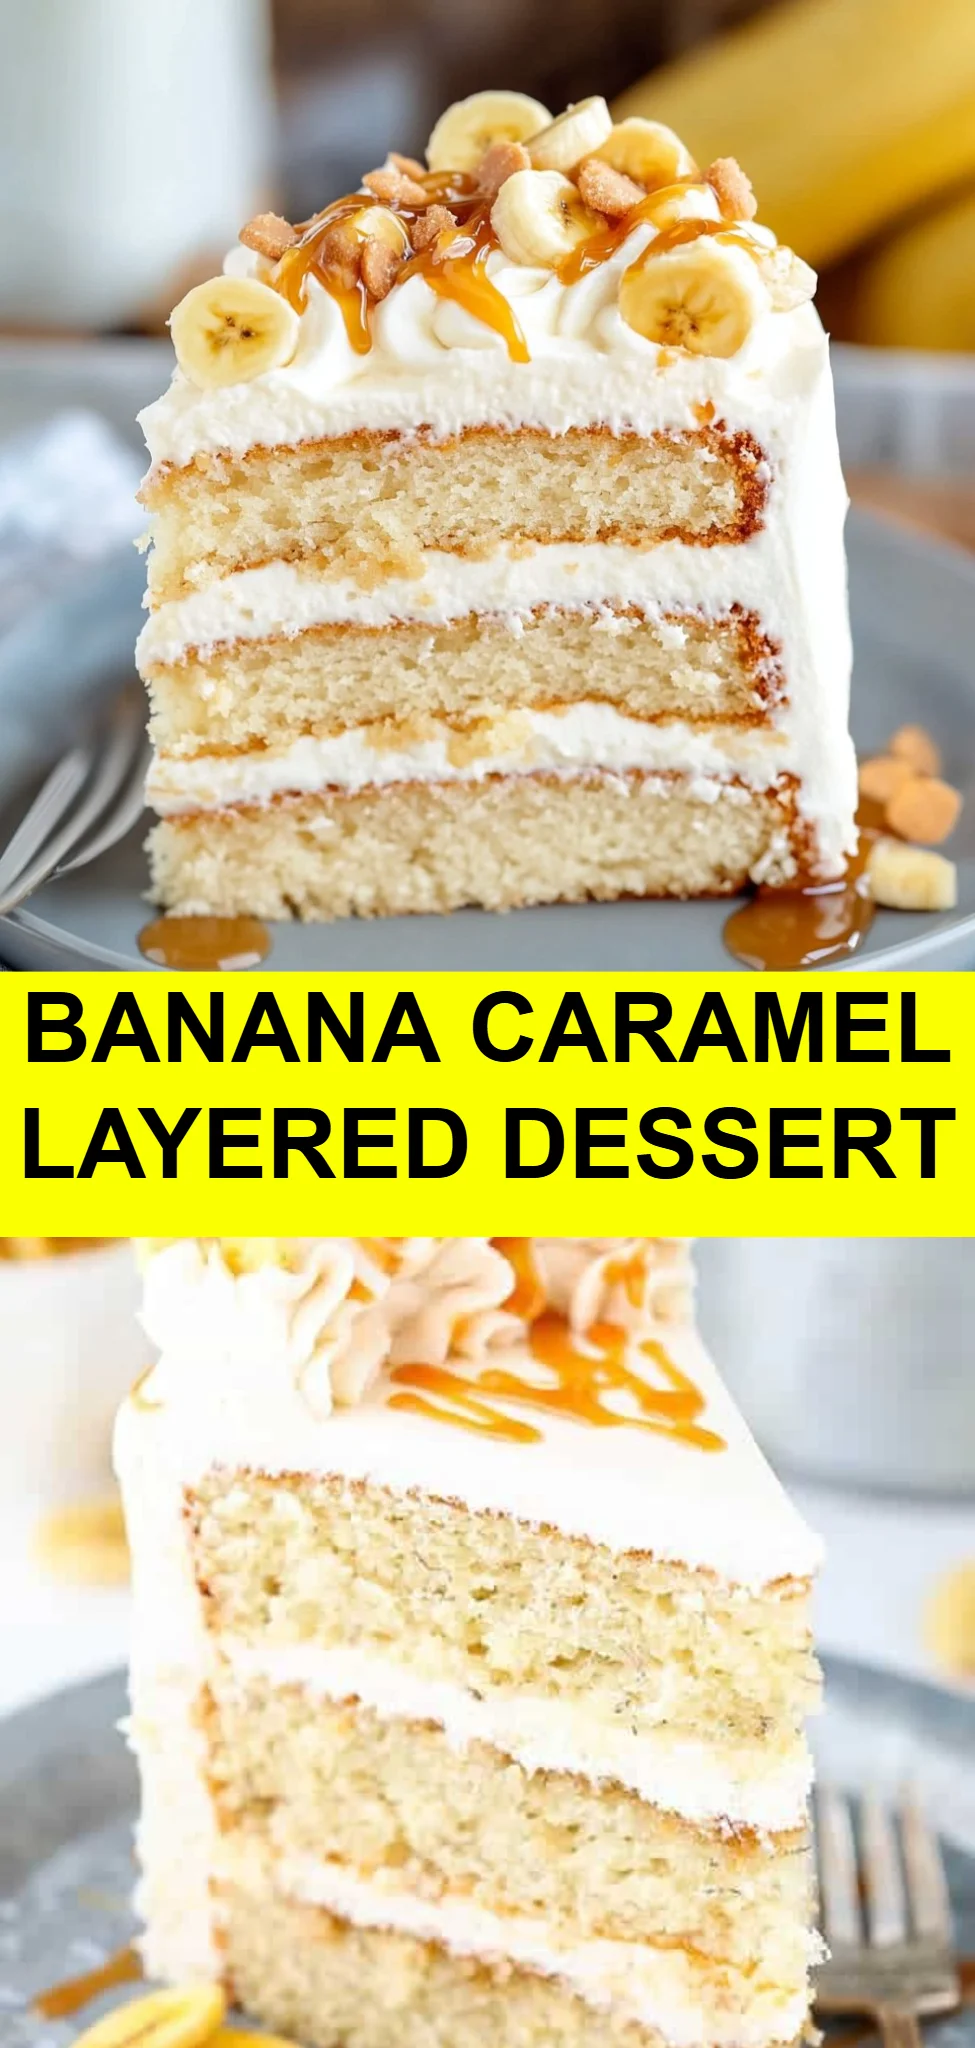
Caramel Banana Layer Cake is a show-stopping dessert that combines the comforting flavors of ripe bananas with the rich, sweet goodness of caramel. This delightful cake is perfect for any occasion, whether it’s a family gathering, a birthday celebration, or simply a weekend treat. A soft, moist cake layered with creamy frosting and a luscious caramel drizzle makes every bite a taste of nostalgia. This easy, step-by-step recipe is sure to become a cherished favorite in your home, bringing smiles and satisfaction to everyone who indulges in it.
Ingredients
For this Caramel Banana Layer Cake, you’ll need a wonderfully harmonious mix of ingredients that come together to create a truly decadent dessert. Start with 310 g of sugar, which adds the perfect sweetness to the cake. You’ll also need 168 g of unsalted butter at room temperature, giving richness to each layer. The hint of 0.5 tsp vanilla extract will infuse a warm, aromatic flavor throughout. For moisture and a tangy edge, use 173 g of sour cream alongside 45 ml of vegetable oil.
The mixture of 3 large eggs and 1 large egg white will help bind your ingredients, while 325 g of all-purpose flour provides the cake’s structure. To make sure it rises beautifully, don’t forget 2 tsp baking powder, 0.5 tsp baking soda, and 0.5 tsp salt. The show-stopper of this recipe is the 240 ml of mashed bananas—around 2 to 3 medium-sized bananas that will keep the cake irresistibly moist and flavorful.
For the frosting, you will need 336 g of salted butter at room temperature and 237 g of shortening to create that fluffy texture. Add 1208 g of powdered sugar for the sweetness, along with 2 tsp vanilla extract and 7 tbsp of caramel sauce at room temperature to incorporate that beloved caramel flavor. Finally, a splash of 3 tbsp of water will help achieve a creamy consistency. Don’t forget to garnish with crispy banana chips for an added texture and visual appeal!
Step-by-Step Directions To Make the Cake
Step 1: Preheat the Oven and Prepare Pans
Begin your baking journey by preheating your oven to 350°F (175°C). Grease and flour two 9-inch round cake pans and set them aside.
Step 2: Mix Dry Ingredients
In a mixing bowl, whisk together the all-purpose flour, baking powder, baking soda, and salt. This step ensures that your leavening agents are evenly distributed throughout the flour, leading to a perfectly risen cake.
Step 3: Cream Butter and Sugar
In a large mixing bowl, beat the unsalted butter and sugar until the mixture becomes light and fluffy. This usually takes about 4-5 minutes with an electric mixer.
Step 4: Add Eggs and Bananas
Add the eggs, one at a time, mixing well after each addition. Then, fold in the mashed bananas gently, allowing the sweetness and moisture to integrate into the batter.
Step 5: Combine Wet and Dry Ingredients
Alternately mix in the dry ingredients with the sour cream and vegetable oil, starting and ending with the dry mixture. Blend only until just combined—be careful not to overmix!
Step 6: Bake the Cakes
Divide the batter evenly between the prepared pans and smooth the tops with a spatula. Bake for 25-30 minutes or until a toothpick inserted in the center comes out clean. Allow the cakes to cool in the pans for about 10 minutes before transferring them onto a wire rack to cool completely.
Step 7: When the Cakes Are Cool
Ensure your cakes are completely cool before frosting. This is key to preventing the frosting from melting.
Step 8: Make the Frosting
In a large mixing bowl, cream together the salted butter and shortening until smooth and fluffy. Gradually add the powdered sugar, mixing well. Then, add the vanilla extract and stir in the caramel sauce along with the water until everything is combined, reaching a creamy texture.
Step 9: Layer and Frost the Cake
Place one layer of the cooled cake on a serving plate. Spread a generous amount of frosting on top of this layer. Place the second layer on top, then frost the top and sides of the cake with the remaining frosting, smoothing it out for a clean finish.
Step 10: Finish Off the Cake
Drizzle additional caramel sauce over the frosted cake for an extra touch of indulgence. Finally, scatter banana chips over the top for an eye-catching garnish.
Tips & Tricks
For an extra boost of flavor, consider roasting the bananas before mashing them. This intensifies their sweetness and adds a richer flavor profile. If you prefer a less sweet cake, reduce the sugar in the frosting slightly. You can also substitute half of the shortening with additional butter for a creamier texture. When using banana chips, try to use ones that are unsweetened for a delightful contrast with the rich frosting.
Serving Suggestions & Pairings
Caramel Banana Layer Cake is divine served on its own, but pairing it with a scoop of vanilla ice cream or a dollop of whipped cream elevates the experience. Its comforting flavors make it an excellent choice for casual family gatherings or festive celebrations. Pair it with a robust coffee or a sweet dessert wine to balance the sweetness of the cake.
Nutritional Information
This indulgent dessert serves about 12 people, with each slice containing roughly 470 calories. Nutrition facts include approximately 24 grams of fat, 59 grams of carbohydrates, and 3 grams of protein. While this cake is a treat, remember to balance it with lighter meals throughout the day!
Storing Tips & Variations
Store any leftovers in an airtight container at room temperature for up to 3 days. If you want to keep it fresh longer, you can refrigerate it, but be mindful that the frosting may harden in the fridge. For freezing, wrap individual slices in plastic wrap and place them in an airtight container for up to 2 months. To reheat, let it come back to room temperature or use the microwave in short intervals.
As for variations, consider adding chopped nuts between the layers for added texture, or include layers of caramelized apples for a delightful twist. You can also create cupcakes using the same batter and frost them with the caramel frosting!
Conclusion
The Caramel Banana Layer Cake is not just a dessert; it’s an experience—one that can spark memories and bring joy to any gathering. With its enticing flavors and impressive appearance, this cake is sure to be a hit among family and friends. We encourage you to try making this delightful recipe at home. Don’t forget to share your experience and any tweaks you made!
FAQs
1. Can I make this cake gluten-free?
Yes! You can substitute the all-purpose flour with a gluten-free baking blend, ensuring it has a suitable texture.
2. What can I use instead of bananas?
If you’re looking to change things up, consider using applesauce or pureed pumpkins for a different flavor and moisture.
3. How can I make the frosting dairy-free?
You can use vegan shortening and a dairy-free butter substitute to create a delicious dairy-free frosting option.
4. Can I decrease the sugar in the recipe?
Absolutely! You can reduce the sugar in both the cake and frosting, but be careful as it may affect texture and flavor.
5. Is there a way to make this cake ahead of time?
Yes, you can bake the cake layers a day in advance and store them wrapped in plastic wrap. Frost the cake just before serving for the best taste.