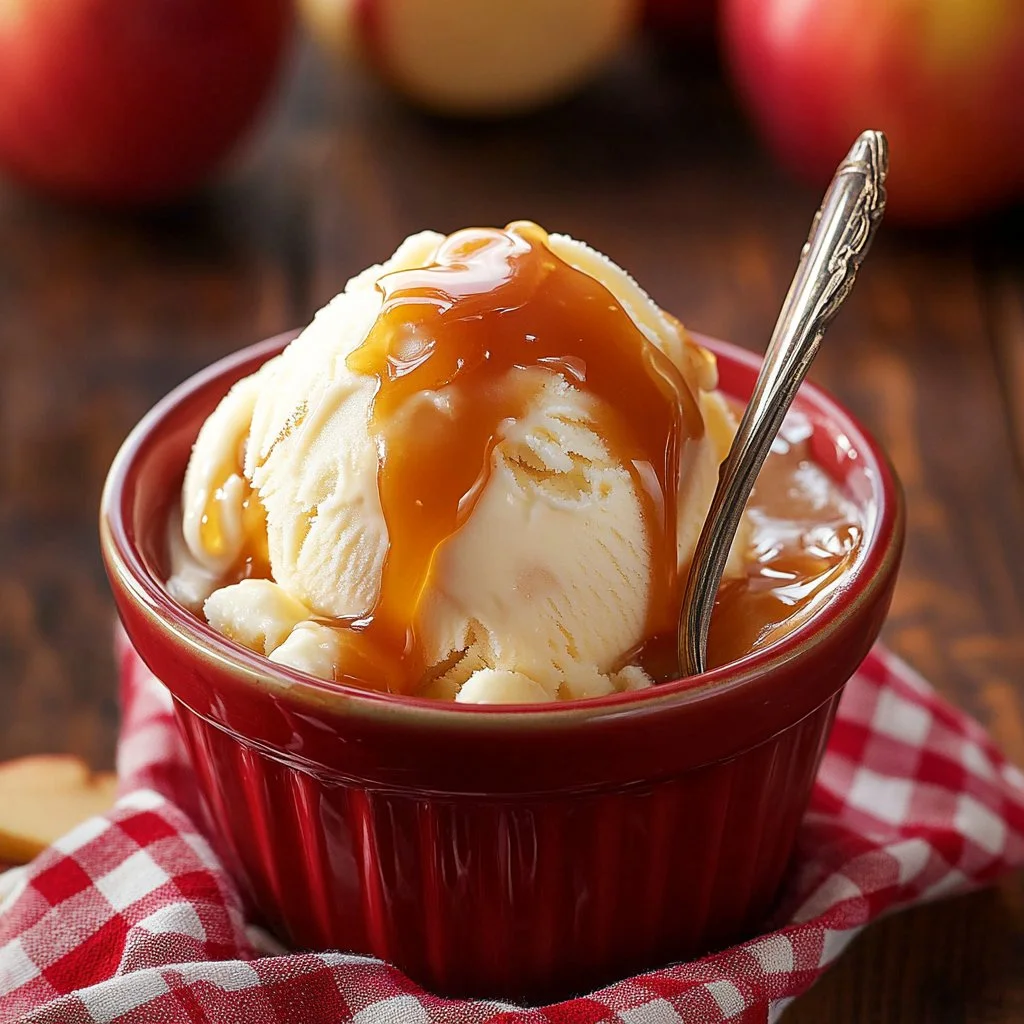
Apple Cider Ice Cream is a delightful treat that captures the essence of fall with every creamy bite. This recipe is a sensory celebration, combining the rich, sweet flavor of apple cider with the velvety smoothness of homemade ice cream. It’s perfect for those warm autumn afternoons when you want something that feels both comforting and refreshing. Easy to make and incredibly satisfying, this apple cider ice cream will bring nostalgic memories of family gatherings and cozy nights spent by the fire. With a step-by-step approach, you’ll find that whipping up this delightful dessert is not only achievable but also a fun family project.
Ingredients
To craft your own batch of apple cider ice cream, gather the following aromatic ingredients:
- 2 cups heavy cream: This will provide the rich, creamy base you crave, adding a lusciousness to each scoop.
- 1 cup whole milk: The addition of whole milk enhances the texture, making it ultra-smooth and irresistibly creamy.
- 1 cup apple cider: Fresh apple cider brings in a sweet, tangy burst of flavor that transports you to an orchard on a crisp fall day.
- 3/4 cup granulated sugar: This sweetener balances the tartness of the apples, ensuring each taste is perfectly delightful.
- 1 teaspoon vanilla extract: Infusing the mixture with this aromatic essence deepens the overall flavor profile, creating a symphony of taste.
- 1/2 teaspoon ground cinnamon: The warm spice adds depth, echoing the cozy, comforting essence of fall.
- 1/4 teaspoon salt: A touch of salt enhances all the flavors and creates a beautiful balance.
- Optional: Chopped apples or caramel swirl for added texture and richness, transforming your ice cream into an exciting experience.
Cooking Time & Tips For Apple Cider Ice Cream
The cooking time for apple cider ice cream can vary based on your chosen method. Quick recipes are often convenience-focused, utilizing store-bought prepped ingredients. In contrast, slow preparation, like making this apple cider ice cream from scratch, allows flavors to meld beautifully, resulting in a superior taste.
For success, consider these practical tips:
- Ensure your ice cream maker bowl is thoroughly chilled before use to achieve the desired texture.
- Mix the ingredients in a large bowl until well combined; this minimizes the occurrence of crystallized ice.
- If you want a unique twist, add chopped apples or a swirl of caramel during the final churning phase to create delightful pockets of flavor throughout.
Step-by-Step Directions
Begin this delightful journey by taking a large mixing bowl. Combine the heavy cream, whole milk, apple cider, granulated sugar, vanilla extract, ground cinnamon, and salt into the bowl. With a whisk in hand, gently blend the ingredients together until the sugar has dissolved and the mixture is well combined.
Next, pour this luscious mixture into your ice cream maker. Churn according to the manufacturer’s instructions, typically around 20-25 minutes. Keep an eye on it; you’ll know it’s ready when it reaches a soft, creamy consistency.
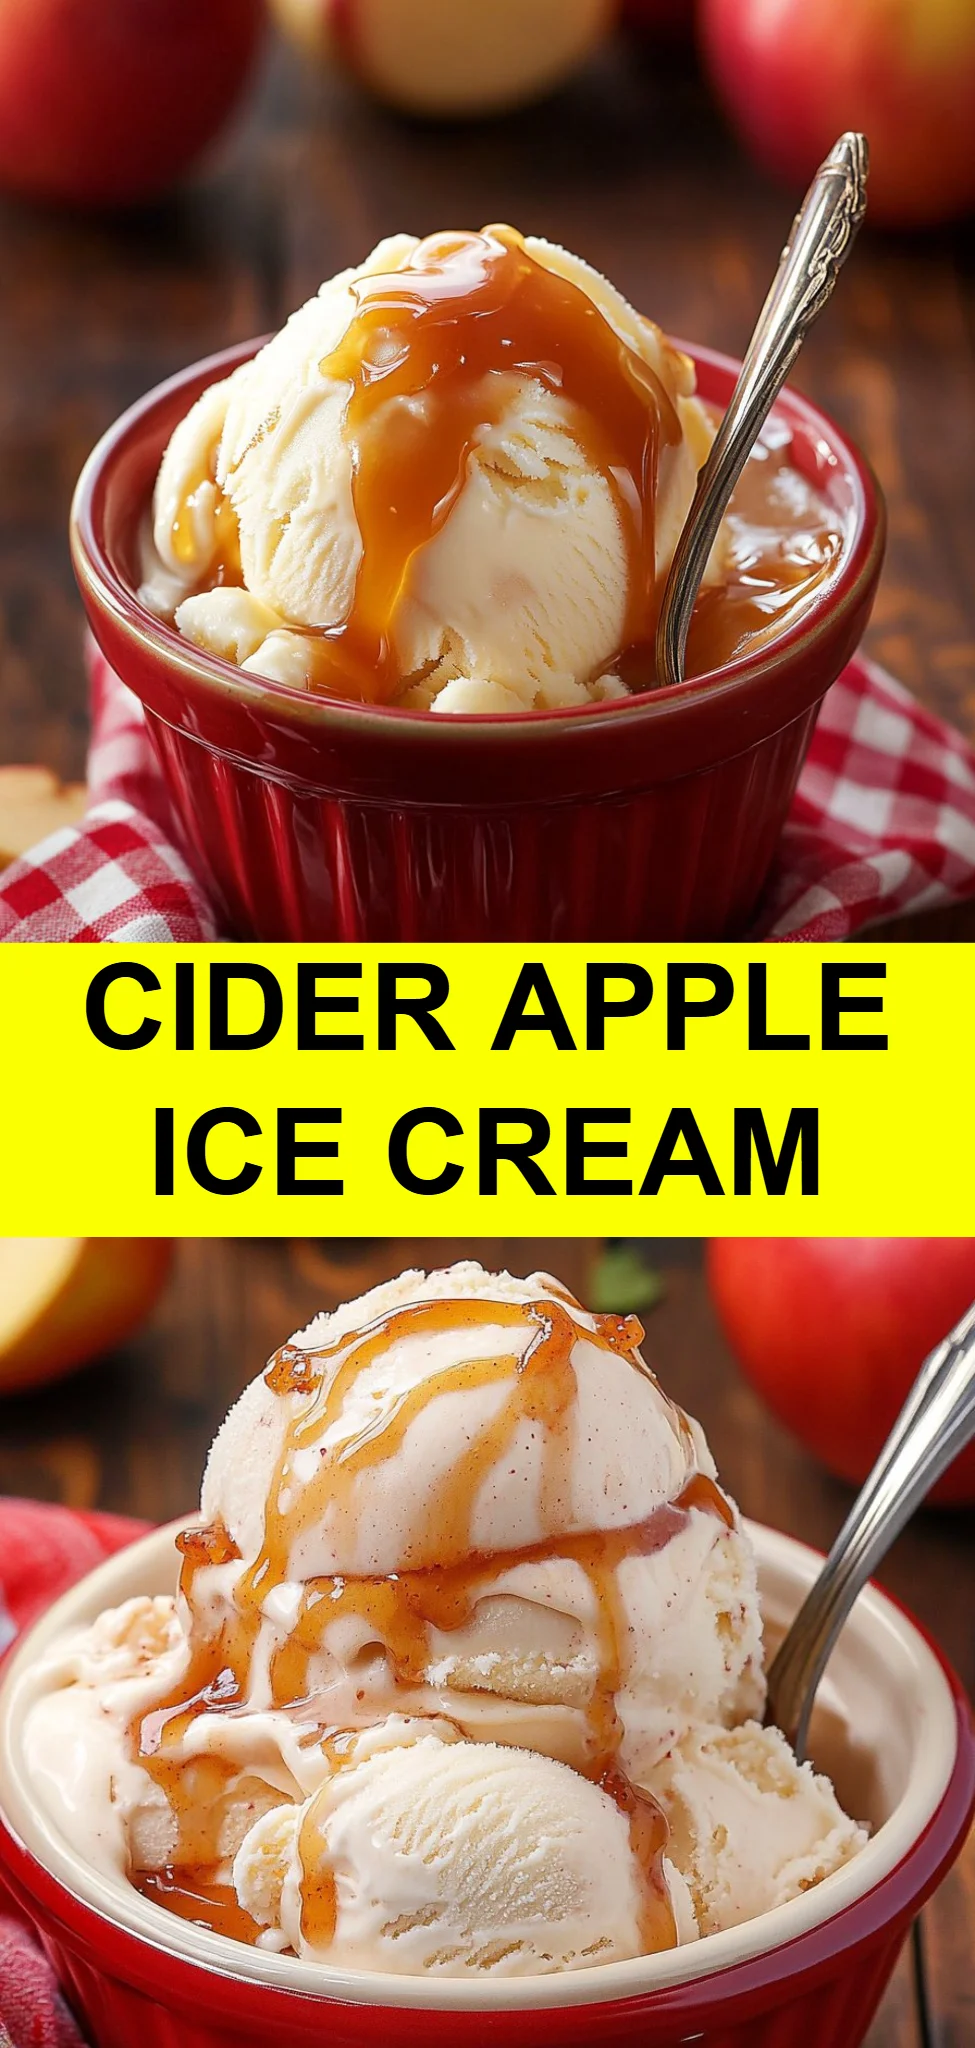
For a delightful twist, if you choose to, fold in chopped apples or a caramel swirl during the last few minutes of churning. This step adds an exciting texture and an additional layer of flavor to your ice cream.
Once churned, it’s time to transfer your concoction to an airtight container. Slap on the lid and freeze it for at least 4 hours, or until it’s firmly set. When it’s finally time to indulge, scoop out your homemade apple cider ice cream and savor the moment as you enjoy each creamy bite of fall delight!
Serving Suggestions & Occasions
Apple cider ice cream is versatile and can enhance a variety of occasions. Serve it as a stand-alone dessert after a comforting family dinner, or pair it with warm apple pie for an indulgent treat that elevates your meal. This ice cream is perfect for autumn festivals, Halloween celebrations, or simply enjoying on a cozy evening at home.
For an extra-special touch, consider serving it in waffle cones, atop spiced cookies, or alongside a drizzle of caramel sauce. You can even sprinkle cinnamon or chopped nuts for a bit of crunch. The possibilities are endless!
Common Mistakes For Apple Cider Ice Cream
Creating homemade ice cream can be daunting if you’re unaware of common pitfalls. Here are a few mistakes to avoid:
- Not Chilling the Ice Cream Maker Bowl: This is crucial for achieving the right texture. Ensure your ice cream maker bowl is completely frozen before use.
- Over-churning: Pay close attention to the churning process; overdoing it can lead to a grainy consistency as air is removed.
- Skipping the Freezing Time: While it’s tempting to dive into the deliciousness immediately, allowing it to freeze thoroughly ensures that it maintains its shape and consistency.
Healthier Alternatives & Variations
If you’re looking for healthier alternatives or variations to this delightful recipe, consider these ideas:
- Substitute Light Cream or Milk: For a lighter version, replace heavy cream with light cream or use a mixture of almond milk and Greek yogurt.
- Natural Sweeteners: Swap out granulated sugar for natural sweeteners like honey or maple syrup for a more wholesome take.
- Dairy-Free Option: Use coconut milk or almond milk as a base to create a delicious dairy-free version without sacrificing flavor.
- Flavor Variations: Experiment with different spices by adding nutmeg or allspice for a different flavor profile. You could even add pumpkin puree for a seasonal twist!
FAQs
Can I use store-bought apple cider?
Absolutely! Fresh or store-bought cider works perfectly in this recipe, making it easier to enjoy any time of the year.What ice cream maker do you recommend?
A quality ice cream maker can make all the difference! Look for one with a good reputation, or consider a simple manual churn for a fun, hands-on experience.How do I know when the ice cream is ready?
The ice cream will reach a soft-serve consistency when it appears thick and creamy during churning.Can I make this without an ice cream maker?
Yes! You can freeze the mixture in a flat dish, stirring every 30 minutes until it’s fully set for a no-churn alternative.How long will the ice cream last?
Homemade ice cream is best enjoyed within a week to two weeks, but it can last up to a month in the freezer if stored properly.Can I make this ahead of time?
Absolutely! It’s a great dessert to make a day or two in advance, allowing the flavors to meld beautifully.
Conclusion
Now that you have the enticing recipe for apple cider ice cream, it’s time to gather your ingredients and start creating this delightful treat. With each creamy bite, you’ll savor the essence of fall and create cherished memories with family and friends. Don’t wait too long—your homemade apple cider ice cream adventure awaits! Dive into this easy, step-by-step recipe and indulge your taste buds today.
Apple Cider Ice Cream
Ingredients
Base Ingredients
- 2 cups heavy cream Provides a rich and creamy base.
- 1 cup whole milk Enhances texture for an ultra-smooth finish.
- 1 cup apple cider Fresh cider for the sweet, tangy flavor.
- 3/4 cup granulated sugar Balances the tartness of the apples.
- 1 teaspoon vanilla extract Deepens the flavor profile.
- 1/2 teaspoon ground cinnamon Adds warmth and a touch of spice.
- 1/4 teaspoon salt Enhances flavor balance.
- optional chopped apples or caramel swirl For added texture and richness.
Instructions
Preparation
- In a large mixing bowl, combine the heavy cream, whole milk, apple cider, granulated sugar, vanilla extract, ground cinnamon, and salt.
- Whisk the ingredients together gently until the sugar dissolves and the mixture is well combined.
Churning
- Pour the mixture into your ice cream maker and churn according to the manufacturer’s instructions, typically for about 20-25 minutes.
- Add in chopped apples or a caramel swirl during the last few minutes of churning, if desired.
Freezing
- Transfer the churned ice cream to an airtight container and freeze for at least 4 hours or until firmly set.