
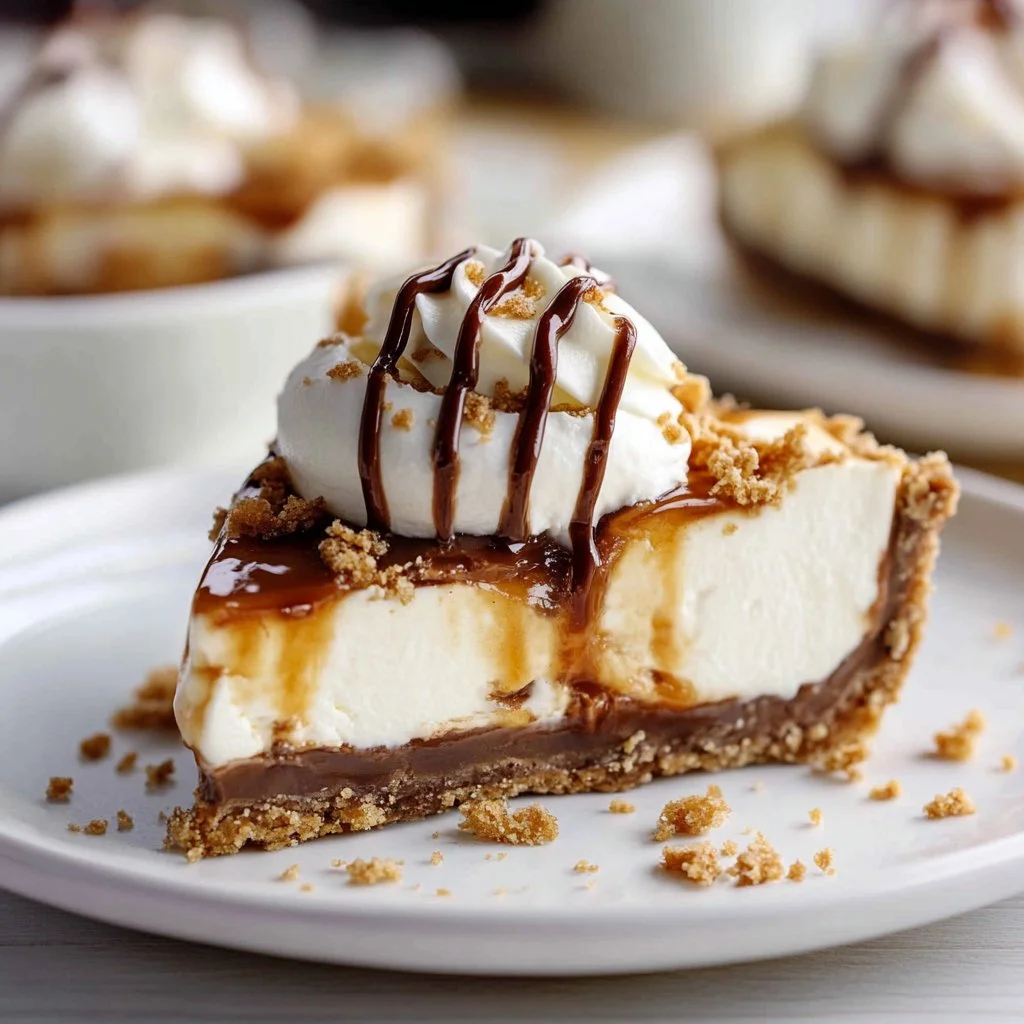
Ice cream pie is the epitome of comfort food that transcends seasons and occasions, making it a delightful treat perfect for any family gathering or cozy night in. Imagine creamy layers of luscious ice cream encased in a crunchy waffle cone crust, all drizzled with rich chocolate syrup. This dessert brings back those nostalgic childhood memories of warm summer afternoons spent savoring ice cream on a hot day. It’s easy, satisfying, and incredibly fun to make, making it an irresistible choice for gatherings or just a sweet indulgence after dinner. This recipe provides a step-by-step guide to creating this delightful dessert, ensuring a fun and easy experience in the kitchen.
Ingredients
To create your delicious ice cream pie, you’ll need a handful of simple yet delectable ingredients that come together harmoniously:
- 3 tablespoons honey: This natural sweetener adds a touch of floral sweetness, balancing the flavors beautifully.
- 3 tablespoons salted butter (melted): The buttery richness enhances the flavor of the crust, creating a crispy bottom layer.
- 8 waffle cones (broken into small pieces): These cone pieces provide a perfect crunchy texture, complementing the smooth ice cream.
- 1 cup sliced almonds: Add a nutty depth and delightful crunch that elevates the overall dessert experience.
- 2 cups vanilla ice cream: Creamy and dreamy, this classic flavor serves as a wonderful base.
- 0.25 cup chocolate syrup: Drizzled throughout the pie, it adds an irresistible chocolate decadence.
- 2 cups chocolate ice cream: For the chocolate lovers, this layer delivers rich, velvety goodness.
- 3 tablespoons chocolate syrup (or caramel for topping): A final drizzle of syrup enhances the visual appeal and flavors.
- Whipped cream: Light and airy, this final touch creates an elegant and indulgent finish.

Step-by-Step Directions Preparation Steps
Creating your ice cream pie is a delightful process that anyone can master! Follow these step-by-step directions to achieve a piece of dessert heaven:
Prepare the Waffle Cone Crust: Begin by preheating your oven to 350°F (175°C). In a mixing bowl, combine the broken waffle cone pieces, melted butter, and honey. Stir until all the cone pieces are coated in the buttery mixture. Press this mixture firmly into the bottom of a pie dish to create your crust. Bake for about 10 minutes or until the crust is golden brown. Allow it to cool completely.
First Ice Cream Layer: Once the crust is cool, scoop the vanilla ice cream into the pie crust. Using a spatula, gently spread it evenly across the crust. To add extra flavor, drizzle half of the chocolate syrup over the vanilla layer. Return the pie to the freezer for about 30 minutes, allowing the ice cream layer to set.
Add Almonds: After the vanilla layer has set, sprinkle the sliced almonds over the ice cream layer, ensuring even coverage. This will add great texture as you dig into each slice.
Chocolate Layer: Now it’s time to scoop the chocolate ice cream! Spread it evenly over the almond layer and smooth it out gently. For an additional touch of flavor, drizzle the remaining chocolate syrup on top of the chocolate layer.
Final Freezing: Return the pie to the freezer and let it chill for at least 2 hours, or until it is firm enough to slice. This step is crucial for maintaining the shape and texture of your pie.
Serve and Garnish: When you’re ready to serve, remove the pie from the freezer. Top it with whipped cream and a final drizzle of chocolate or caramel syrup. Slice and enjoy this delightful treat!
Tips & Tricks
- Let Ice Cream Soften: Before scooping the ice cream, let it sit at room temperature for about 5-10 minutes for easier spreading.
- Experiment with Flavors: Feel free to mix and match ice cream flavors based on your preference. Strawberry, mint, or even cookie dough can make delightful variations.
- Nut Allergy?: If there are nut allergies, simply omit the almonds or substitute with crushed pretzels or additional cone pieces for an extra crunchy element.
Serving Suggestions & Pairings
Ice cream pie is versatile and can transform any occasion into a celebration. Serve it at birthday parties, summer barbecues, or cozy family dinners. Pair it with fresh fruit salads or a hot cup of coffee to balance the sweetness. A scoop of ice cream on the side or some fresh berries can also enhance the presentation and flavors.
Nutritional Information
This scrumptious pie holds around 350-400 calories per slice, depending on the specific brands and quantities used. The recipe provides a good dose of carbohydrates and fats, making it a delightful indulgence. While you should enjoy it in moderation, don’t forget that it’s absolutely okay to treat yourself occasionally!
Storing Tips & Variations
To prolong the life of your ice cream pie, store any leftovers in the freezer. Cover the pie tightly with plastic wrap or aluminum foil to prevent freezer burn, and it will keep well for up to a week. To change things up, try adding layers of cookie crumbles, swapping out chocolate syrup for caramel in one layer, or using different flavors of ice cream entirely. The possibilities are endless!
Conclusion
Ice cream pie is a fun and beloved dessert that’s just waiting to be made in your kitchen. It’s a simple recipe that everyone will enjoy, evoking feelings of joy and nostalgia with every bite. We encourage you to gather your ingredients, follow the steps, and create this delightful treat for your loved ones. They’ll be sure to ask for seconds! Don’t forget to share your experience, favorite flavors, or any variations you tried in the comments below.
FAQs
Can I use store-bought ice cream or should I make my own?
You can absolutely use store-bought ice cream for convenience; just pick your favorite flavors!How long will the ice cream pie last in the freezer?
It typically lasts about a week in the freezer if properly covered.Can I make this pie gluten-free?
Yes! Use gluten-free waffle cones to accommodate dietary needs.What other toppings can I use?
You can get creative with toppings like sprinkles, crushed cookies, or fresh fruits.Can I make this recipe dairy-free?
Certainly! Use dairy-free ice cream and non-dairy substitutes for butter and whipped cream for a delicious dairy-free version!